Step 1: Open the desired project
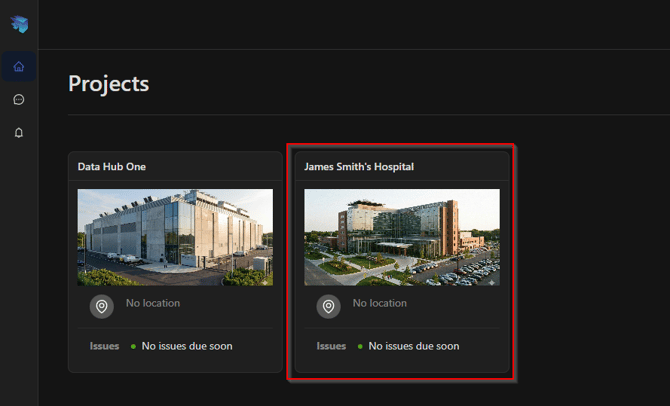
Log in to the TruScope platform and navigate to the project where you want to upload the 2D drawings. If you don't have your own project yet, check our guide on how to create projects by clicking here
Step 2: Open the 2D Drawings menu
Within the project workspace, open the 2D Drawings section from the main navigation or project menu.
Step 3: Pick the desired files
Select the 2D drawing files from your computer that you want to upload (for example, PDF drawing sets), then start the upload.
Step 4: Define the sheet title and number regions
After the upload, identify and select the regions of the drawing where TruScope should detect:
Sheet numbers
Sheet titles
These regions will be applied across the drawing set.
Step 5: Confirm sheet numbers
Review the detected sheet numbers and make any necessary corrections to ensure they match your drawing set.
Step 6: Confirm sheet titles
Review and confirm the detected sheet titles, editing them if needed for accuracy and consistency.
Done.
Once confirmed, your 2D drawings are processed and available in TruScope, ready for viewing and use within the project.